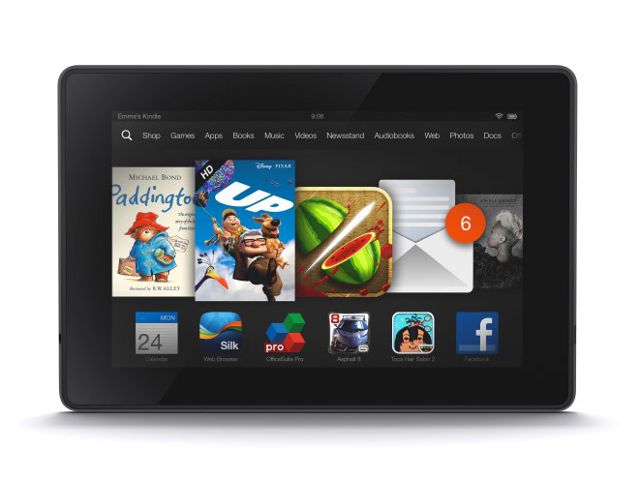
Kindle Fire is an amazing device as it connects you to millions of books, magazines and so much more at the comfort of your home. Is there any need to wander to different book stores or online sites to purchase books when you have it all on one device? Well, the Kindle Fire tablet has made it easier for readers to access whatever they like. The Kindle Fire needs an active and steady internet connection to run. In this blog, we will talk about connecting Kindle Fire to wifi. This is divided into two sections;
- Connecting Kindle Fire to an existing wifi network.
- Connecting Kindle Fire by adding a wifi network manually.
Follow Steps For Connecting Kindle Fire To Wifi:
You can connect your Kindle Fire device to the wifi network in two ways i.e., either to the existing wifi network or by adding a wifi network manually. Let’s now understand both the ways of connecting to the wifi network one by one;
- Connect your Kindle Fire to an existing wifi router network:
- On your Kindle home screen, swipe down from the top and click on the wireless icon.
- Check and make sure that the Airplane mode is turned off.
- After that hit the wifi tab and click on the toggle to turn it on.
- This will open up a list of wifi networks that are available in your area.
- From this list click on the network name or SSID you prefer to connect with.
- The networks that show a lock icon beside their name indicate that they require a password to connect.
- Now, enter the passphrase to connect to the network you prefer. That’s it, your Kindle Fire is connected to the main wifi router network in your home.
- Connect your Kindle Fire by adding a new wifi network:
- Just like the previous methods, swipe from the top of the Kindle screen and click on the wireless icon from the menu.
- Make sure that the Airplane mode is switched on.
- Now, tap on the wifi toggle to switch on the wifi network.
- Now, click on the ‘Join Other Network’ option.
- In the network SSID field given on your screen, fill in your network name.
- Now, tap on the menu present beside the Security menu and choose a network security type.
- Fill in the passkey of the network if needed and then click on the Save button.
- Finally, your Kindle Fire device is connected to the network.
Start Browsing Your Favorite Books!
Now you have cracked the methods of connecting Kindle Fire to the wifi network. That’s it! You can browse your favorite books and magazines just with a few clicks. Enjoy your leisure time doing your favorite activity!
